
Time Machine is a tried-and-true solution for backing up macOS desktops and laptops. It was introduced in 2007 with Mac OS X 10.5 Leopard, and since then, it has become one of the most reliable ways to keep a constant backup of your Mac.
For business users, backing up your Mac is important for devices used for productivity. Lost laptops or drives that stop working are real scenarios that could cause lost work and profit for a business. Keeping a backup means that you’ll always have access to work and projects if the worst should happen. Time Machine is a great solution built into the macOS operating system that is free to use and easy for anyone to configure.
The first step to backing up your Mac with Time Machine is selecting a drive you want to use, so let’s do that first, then we’ll enable backups in Time Machine.
How to select a backup drive for Time Machine
While numerous options exist, some external hard drives will work better with Time Machine than others, depending on your preferences. Here’s how to select the best external hard drive for Time Machine backups.
Drive size
The biggest question when selecting a drive is: What capacity should you choose? While 1TB used to prove plentiful for collecting a long history of Time Machine backups, some new Macs ship with onboard drives that large.
PREMIUM: Use this computer hardware engineer hiring kit to find the right fit for your team.
A good rule is to purchase an external backup drive that’s at least three times larger than the Mac’s own disk. If your Mac uses a 256GB SSD, a 1TB external drive should work well collecting Time Machine backups. But if your Mac uses a 1TB drive, consider purchasing a 3TB or 4TB external disk. Fortunately, pricing has fallen to the point that a reliable 4TB disk can typically be purchased for about $150 or less.
Drive type
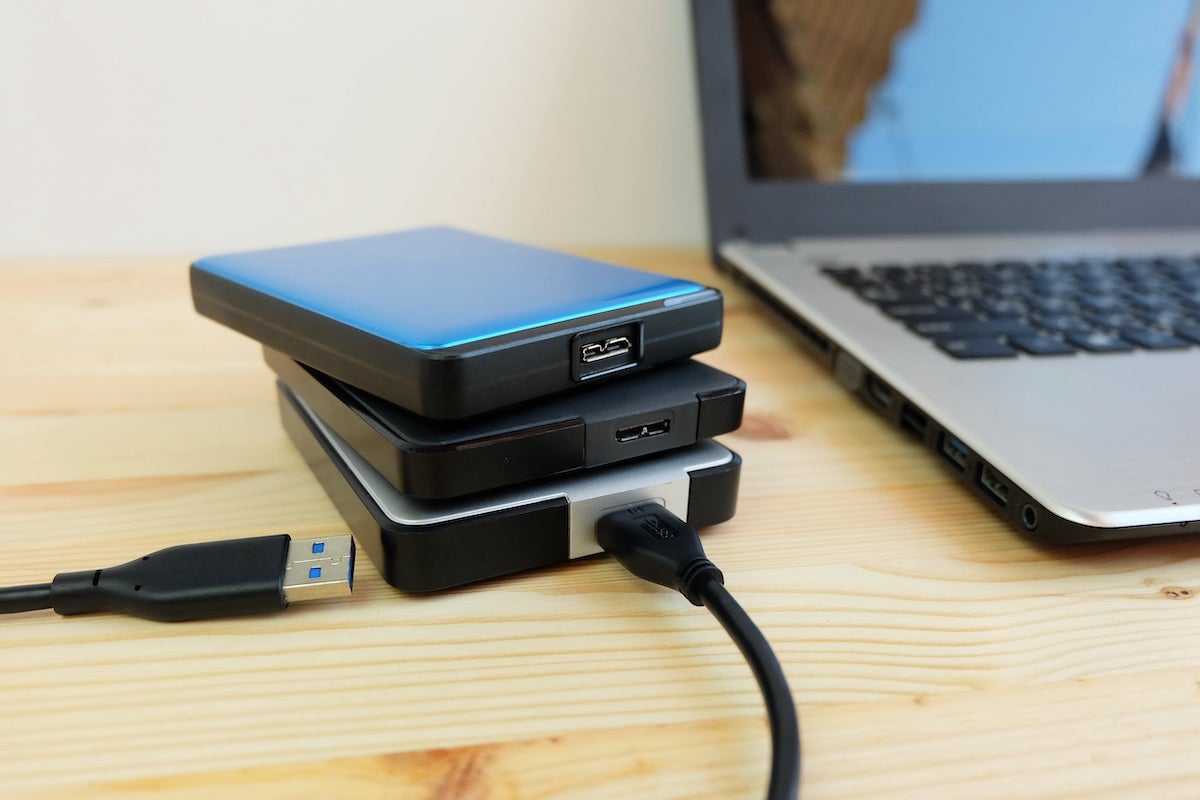
There are two drive types: portable and desktop. While most drives now use a single USB-C cable to both provide power and data, there are some traditional external drives that require an external power source — typically called desktop drives. We suspect many users will prefer a portable drive solution that doesn’t require an external power source; however, it’s important to keep in mind that these two drive types exist.
Connection method
In addition to the size and form factor, when choosing a drive you need to understand the various types of connectivity and which your Mac needs. The ones you’ll typically encounter are USB-A, USB-C and Thunderbolt. Thunderbolt and USB-C will provide the fastest throughput, especially if you choose an SSD over a traditional magnetic hard drive. You’ll want to pick the fastest option that works with your setup.
When purchasing a drive for Time Machine and paired with a modern Mac that utilizes SSDs, you’ll want to stick with an SSD for your external backup drive for the speed of backups, especially when using it with a laptop where you’ll want to disconnect the drive when not backing up.
Some recommended drives
- Samsung Portable SSD T9: Best for lower budgets. Available in 1TB, 2TB and 4TB options.
- LaCie Rugged SSD Pro: Best for mid-range budgets and better portability. Available in 1TB, 2TB, 4TB and 5TB options.
- OWC Envoy Pro FX NVMe drive: Best for higher-end budgets looking for the best speed. Available in 1TB, 2TB and 4TB options.
How to Configure Time Machine in macOS
Time Machine works like this: Whenever you have a drive set up for Time Machine to use, Time Machine will automatically start taking snapshots of your Mac every hour (for each of the files that have changed since the last backup) for up to 24 hours, a daily backup of your entire drive that is kept for the past month and a weekly backup that is kept for as long as you have drive space.
Time Machine takes the guesswork out of backups: Configure a drive and let macOS do the rest. No need to configure what gets backed up (though you can exclude things from backups), and no need to cull old backups. Time Machine does it all for you.
Once you’ve got a drive compatible with your Mac, simply plug the drive into your Mac. Most of the time, your Mac will automatically recognize the empty drive and display a notification asking if you’d like to use it as a Time Machine drive.
If it doesn’t, you can still configure Time Machine manually by doing the following:
- Open System Settings from the Apple menu.
- Navigate to General > Time Machine.
- Click Add Backup Disk… (Figure A).
Figure A
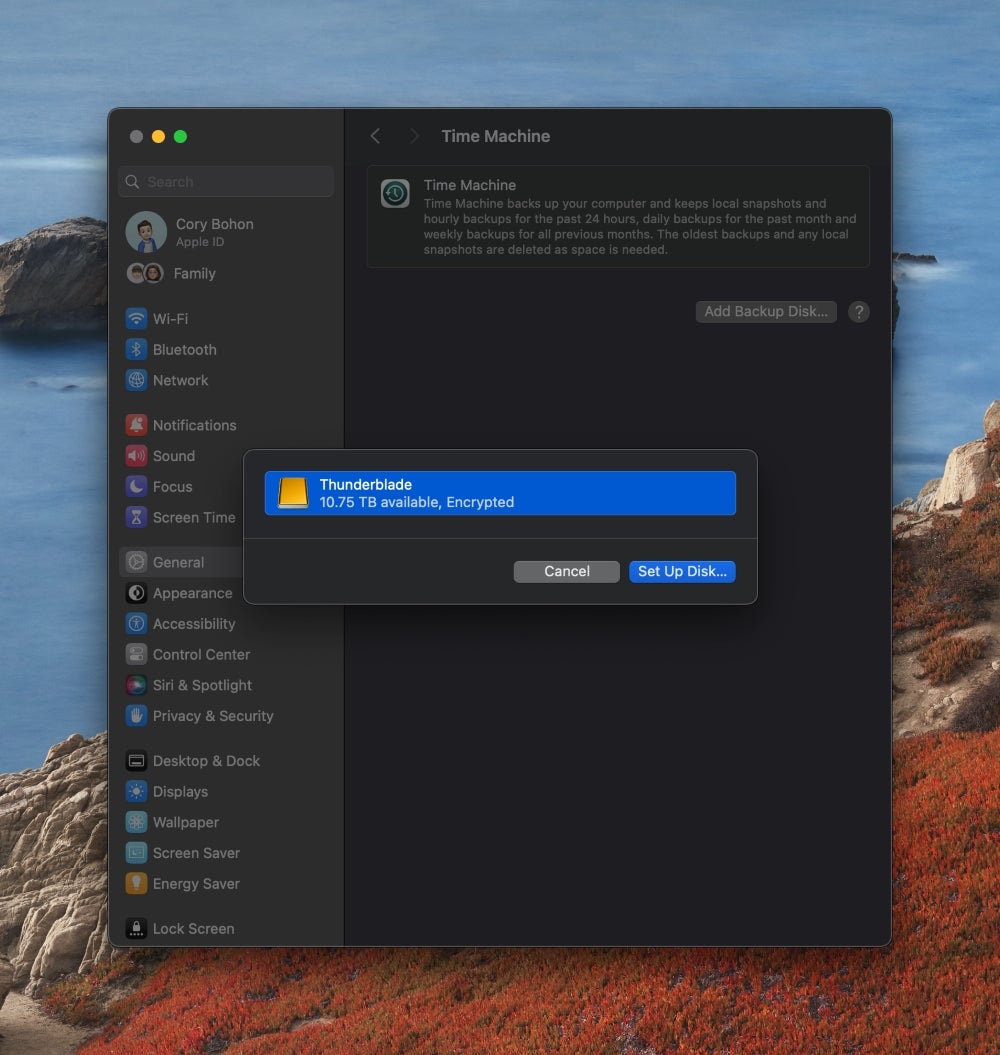
- Select your drive, then click Continue.
- Optional: In the options, choose Encrypt Backup, then provide a password and hint (Figure B).
Figure B
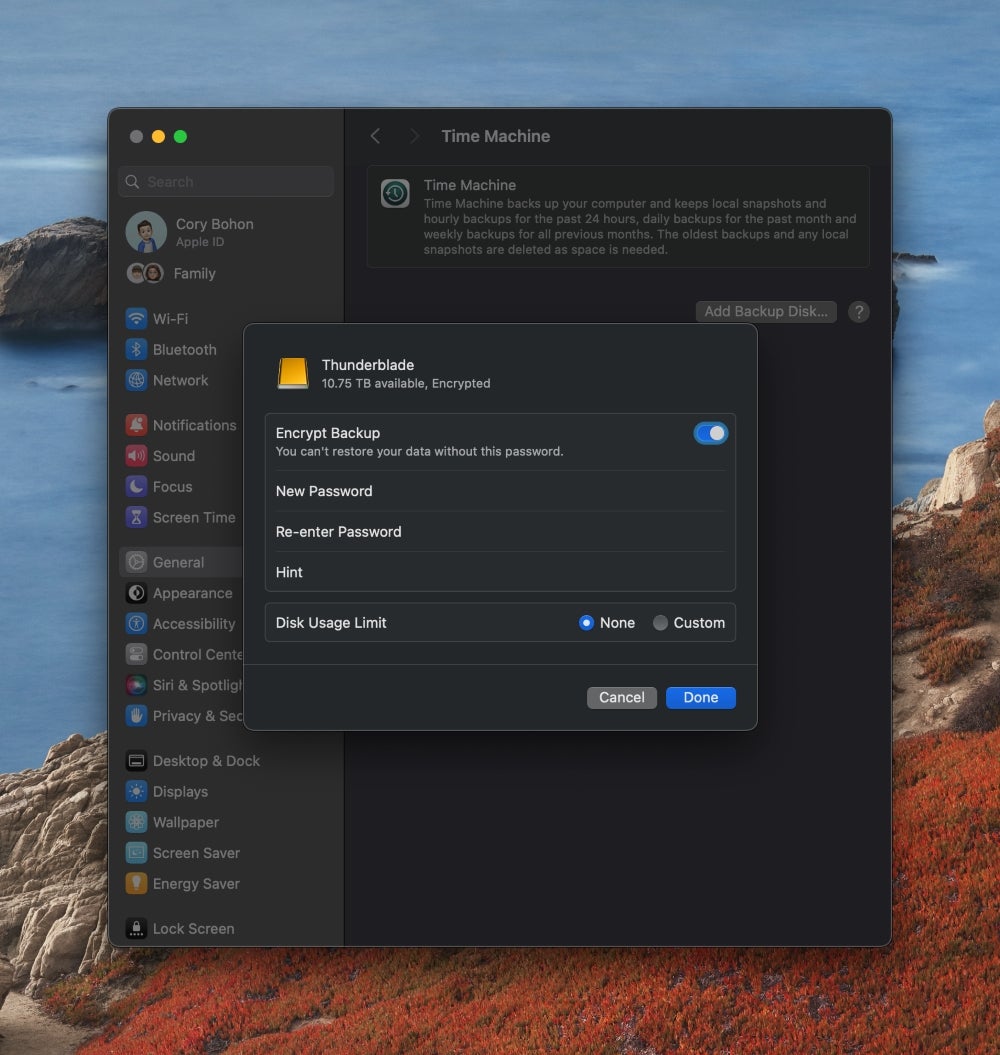
- Select a Disk Usage limit. No limit means that Time Machine can utilize the full drive; otherwise, you can set a limit on how much drive space to use.
- Click Done.
When you do this, Time Machine will go to work, scanning for files on your internal Mac drive to backup. It will then begin the process of transferring files over to the external drive for backup purposes.
Time Machine includes an entire interface for restoring from backups once your initial backup has completed. For more information on recovering files, check out our guide on how to recover an individual macOS file using Time Machine.
