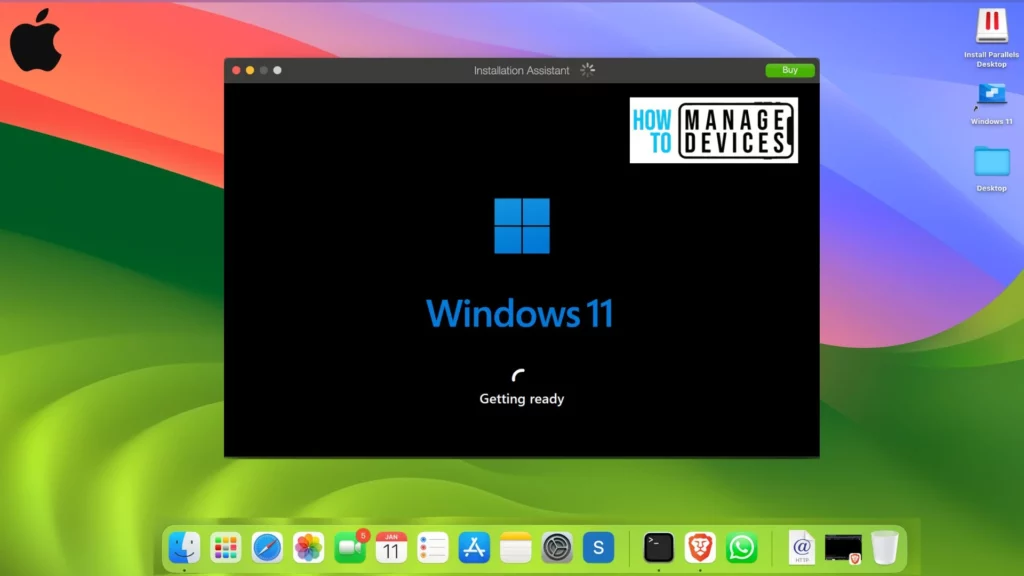
Hola a todas! We are thrilled to share a comprehensive guide on Install Windows 11 using Parallels Desktop on macOS and use both OS on a single laptop. Our goal is to provide an easy-to-follow, step-by-step process that will enable us to create a virtual environment on the Macbook and run Windows OS seamlessly.
Did you know that it’s possible to enjoy both OSs on a single device in today’s era? In the past, macOS users had to use only Apple hardware and couldn’t use a Windows OS. But in the world of virtualisation, this limitation is slowly fading away. We can now install Windows on macOS devices and vice versa using virtual apps.
We’ll be using the Parallels Desktop Application to install and use Windows on a Mac device; this powerful tool enables us to create and manage virtual machines on computers. Our guide will walk through the entire process, including the specific changes and commands required for a successful setup.
So, let’s prepare to embark on this exciting journey by understanding the Parallels Desktop Application and how to download and install the app from its official website. Is it license-based, and what will the subscription cost be?

Suppose you’re interested in making the most out of Microsoft Intune for managing Apple devices. In that case, I recommend you to check out my previous article on How to Setup Partner Compliance Management using Intune. This article provides helpful tips on how organizations can maximise Intune as a third-party compliance management tool. The focus will be on managing macOS devices efficiently and effectively.
If you’ve been following my articles about managing macOS devices with Microsoft Intune MDM Solution, you’re probably aware of its benefits. I invite you to explore my other posts to broaden your knowledge by checking out all my posts here.
I would also like to talk about my video on upgrading to macOS Sonoma and introduce new features that can streamline your work process and help users achieve better results in less time, improving end-user productivity.
What is Parallels Desktop?
Parallels Desktop for Mac is a software application that allows users to run Windows on their Mac device. It offers Standard, Professional, and Business versions to cater to users’ needs. The Standard version includes essential features, while the Pro and Business versions have more advanced features tailored to developers and business users.
Parallels Desktop for Mac offers a free trial period of 14 days, allowing users to determine if it is the right choice for them. With this software, we can install and operate Windows on a Mac device by creating a virtual machine on the Mac. This provides a separate environment to install and run Windows, ensuring that the two operating systems do not interfere with each other.
Purpose of Using Virtual Environment
As we understand how the Parallels Desktop app creates a virtual environment on top of macOS to install and run Windows OS, let us go through the benefits organisations can achieve by implementing virtualisation.
- Cost Savings: Organisations can purchase more robust hardware at a lower cost by opting for virtual systems. Additionally, virtual machines (VMs) can easily extend the life of old software, streamlining the transition to new software.
- Easy Provisioning: In a disastrous event, bringing physical servers back up can take hours or even days. In contrast, virtualised environments can be replicated or cloned quickly, taking only a few minutes to bring back up.
- Increased Productivity: By maintaining only the host machines and not the virtual environment, IT teams can focus on other critical tasks that can help the organisation grow, making it more productive.
- Efficient DevOps: Maintenance operations have minimal impact on the production environment, and in many cases, downtime is unnecessary when performing maintenance. VMs also simplify testing and development processes for applications and websites, making it easier for developers to create high-quality software.
Benefits of Using Parallels Desktop
Parallels software is an excellent option for Mac users who want to take advantage of the benefits of running Windows or Linux on their computers without having to partition their hard drives. This software offers several benefits, such as :
- It allows you to run Windows and Mac applications side by side, providing you access to a wider range of software and games unavailable on the Mac platform.
- It offers greater flexibility in how you use your computer, as you can use Windows while still being able to take advantage of all the features of macOS.
- It performs better than virtual machine software such as VMware Fusion and Oracle VirtualBox.
- It can use Mac’s built-in camera, microphone, and speakers in Windows applications, which enhances better user experience.
- The setup and installation process is much easier than using a virtual machine, making it a constructive choice.
How to Download Parallels Desktop
To download and install the app, Users can download it from their Vendor Site and also download it from the App Store in MacBook. Downloading Mac applications is generally safe, as Apple carefully regulates and approves the apps that appear in the Mac App Store.

How to Install Parallels Desktop on macOS
When installing the app, follow these steps after downloading the latest version of Parallels Desktop app on your Mac:
- To easily mount the downloaded dmg file, double-click on it to initiate the installation process as per the screenshot below.

2. To complete the installation, the app needs to access the downloads folder to download the full version later. Click the ‘Open‘ button and allow access to the downloads folder on your Mac.

3. Before starting the installation process, the user must accept the license agreement for the Parallels Desktop app and enable the Parallels Customer Experience Program to proceed further.

4. Let’s wait for the full version to download and initialize on the Mac.

5. When you initialize the app, it will prompt you to grant access to three specific folders on your device: Desktop, Documents, and Downloads. This will ensure that all the relevant files in these folders are replicated in the virtual platform, allowing users to seamlessly access and work on them once the installation process is complete.

Install Windows 11 using Parallels Desktop on macOS
After the successful installation of the Parallels Desktop application on Mac and granting the necessary permission, the next step is to select the secondary operating system of your choice. If you wish to install an operating system like Linux, Ubuntu, Kali, or Fedora Linux versions, you can easily do so by clicking on the “Other Options” button, selecting your desired OS under the “Free Systems” tab, and proceeding with the installation process.
Note! We opted for Windows 11 and clicked on the “Install Windows” button to proceed. This straightforward and user-friendly process makes it easy for anyone to install a secondary operating system on their Mac.

After selecting the OS, Since Windows 11 is a large file, it’s worth keeping in mind that the installation process may take some time, depending on the internet speed. The setup process involved configuring various settings, which are displayed below.

The automated installation process of the Parallels Desktop app is a great advantage, as it saves users from the tedious task of manually configuring the installation options as in the traditional method of installing Windows OS.

The app has been designed to optimize basic configurations, making it easier and faster for users to get Windows up and running on their system. Additionally, the app only prompts users to agree to the Windows license agreement before proceeding further, further streamlining the process. The Parallels Desktop app is a commendable solution that simplifies installation and enhances user experience.
Note! The time taken for completion of the installation varies depending on the MacBook’s RAM size or processing speed. In my case, it took around 30-40 minutes to complete the entire setup.

The app offers a 14-day free trial period by default, which can be availed by the users if they meet the necessary requirements. Once the trial period ends, the user can purchase the full version of the app to continue using it as per their needs.
Note! Please note that the free trial period is only available once per device. Therefore, after the trial period expires, it cannot be reactivated by any other user sign-in or log-in.

Once the installation of Windows 11 is complete, the user will need to accept the Windows license agreement.

Users must sign in to their Parallels account before proceeding with the Windows license agreement. Incase they don’t have an account, they can easily create one. Furthermore, users can choose to sign in using their Apple, Facebook, or Google accounts to simplify the process. This option ensures a more efficient and convenient login experience for our users.

After entering the login credentials, the user can accept the Windows license agreement to launch Windows 11 on the MacBook and start using it.

After successfully launching the Windows OS desktop, as observed, the existing files on the Mac desktop were replicated on the Windows OS in the virtual environment. This was possible because the Parallels Desktop had already asked for the user’s permission at the beginning of the installation.
This feature allows the user to conveniently access and open files on the desktop, downloads, and document folders in Windows and macOS. Moreover, this cross-functionality enables the user to check the compatibility of the files in both operating systems. Overall, this great feature enhances the user’s convenience and productivity.

In – Active State
When the parallels desktop app is not in use and is paused, it helps to conserve memory by automatically pausing the Windows OS. To continue using the OS, the User simply needs to click on the app. This feature helps to optimize system performance and ensure a smoother user experience.

End- Of Trial Period
After the trial period passes, the Windows OS virtual environment goes into suspended mode. It can only be reactivated by providing the activation key to the parallels desktop app, as shown in the screenshot below.

Conclusion
If you are a Mac user who loves using Apple’s Macbooks but needs to run Windows software for specific tasks or testing apps, installing Windows 11 on your Mac can be an excellent solution. You can install Windows 11 as a secondary operating system or run it virtually on your Macbook. This way, you can use the software you need while staying in the Apple ecosystem.
However, keep in mind that when you install Windows on your Macbook, the hard drive space gets divided between the Windows virtual machine and MacOS. So, make sure you have enough space on your hard drive before installing Windows.
It’s also essential to note that installing Windows on your Macbook can put your device at risk of viruses. Therefore, it’s crucial to have a reliable antivirus program installed to keep your device safe from malware or viruses that can come from the internet.
We are on WhatsApp now. To get the latest step-by-step guides, news, and updates, Join our Channel. Click here.
Author
Snehasis Pani is currently working as a JAMF Admin. He loves to help the community by sharing his Apple Mac Devices Support knowledge. He is an M.Tech graduate in System Engineering. Do check out his profile on Twitter & Linkedin.

