
Chrome OS has come a very long way from being just a browser. In fact, the developers have made it pretty simple to run full-blown Linux applications on Chromebooks. This has helped to evolve the mobile laptop platform into an impressive developer tool.
But, not being ones to rest on their laurels, the developers have taken Linux support on Chrome OS to yet another level by making it possible to run multiple Linux containers on a single device. This means you can have more than one instance of Linux on your Chromebook, each isolated from one another. With this, you could create specific build environments for different tasks and not worry that one would have any effect on another.
SEE: 40+ open source and Linux terms you need to know (TechRepublic Premium)
Handy stuff, this.
But how do you enable this feature? At the moment, it’s still experimental, so it’s only available on the Dev channel (note, in the newer iterations of the OS, you click About Chrome OS | Additional Details | Change Channel). If you’re anxious to check out this new feature (and you’re OK moving to the developer channel), go ahead and make the switch (with the understanding the dev channel is not as stable as the stable channel).
With that said, let’s find out how to enable multiple Linux containers in Chrome OS.
What you’ll need
To make this work, you’ll need a Chromebook running at least version 98 of Chrome OS, so make sure to update to the latest release. That’s all you need.
How to enable multiple Linux containers on Chrome OS
Open Chrome and type:
chrome://flags#crostini-multi-containerâ
Hit Enter on your keyboard. In the resulting window (Figure A), click the Default drop-down associated with Allow Multiple Crostini Containers and select Enabled.
Figure A

When prompted, click Restart (Figure B).
Figure B

After your Chromebook restarts, login and open Settings. From within Settings, go to Advanced | Developers | Linux development environment. In this new screen (Figure C), click Manage Extra Containers.
Figure C
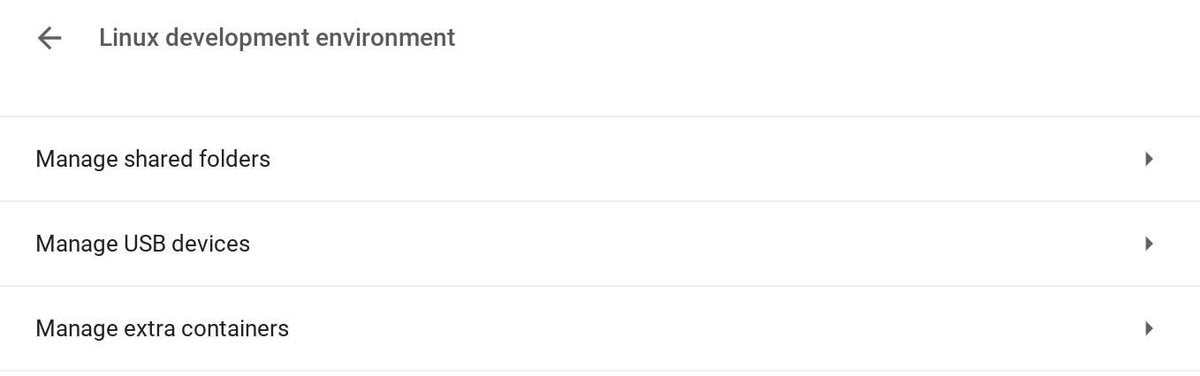
Click the new section and then click Create (Figure D).
Figure D

You will be prompted to name the container and the VM. Add those two names and click Create (Figure E).
Figure E
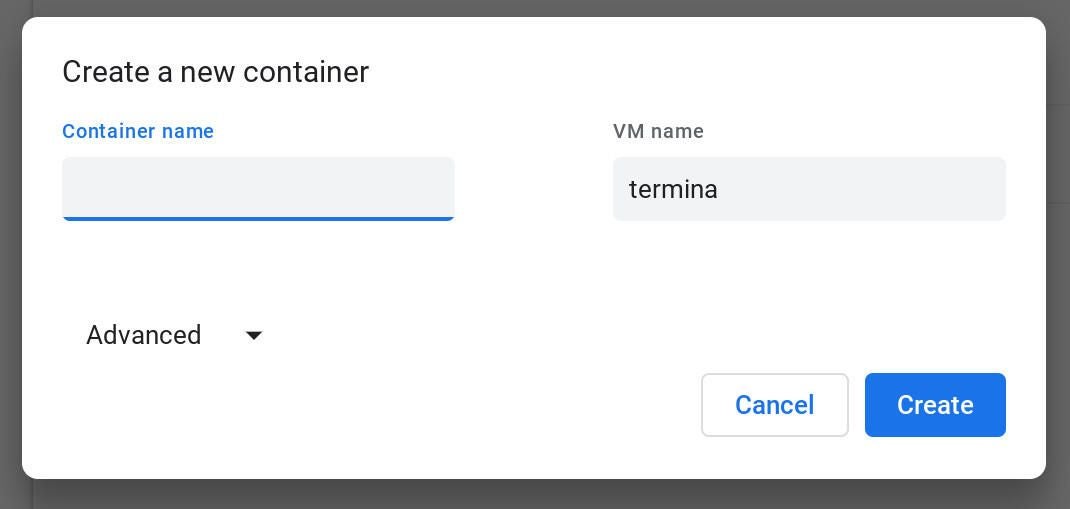
After naming your new Linux container, click Create, and Chrome OS will build the environment and open a terminal window associated with it. Once the container is ready, you can start using your new Linux environment.
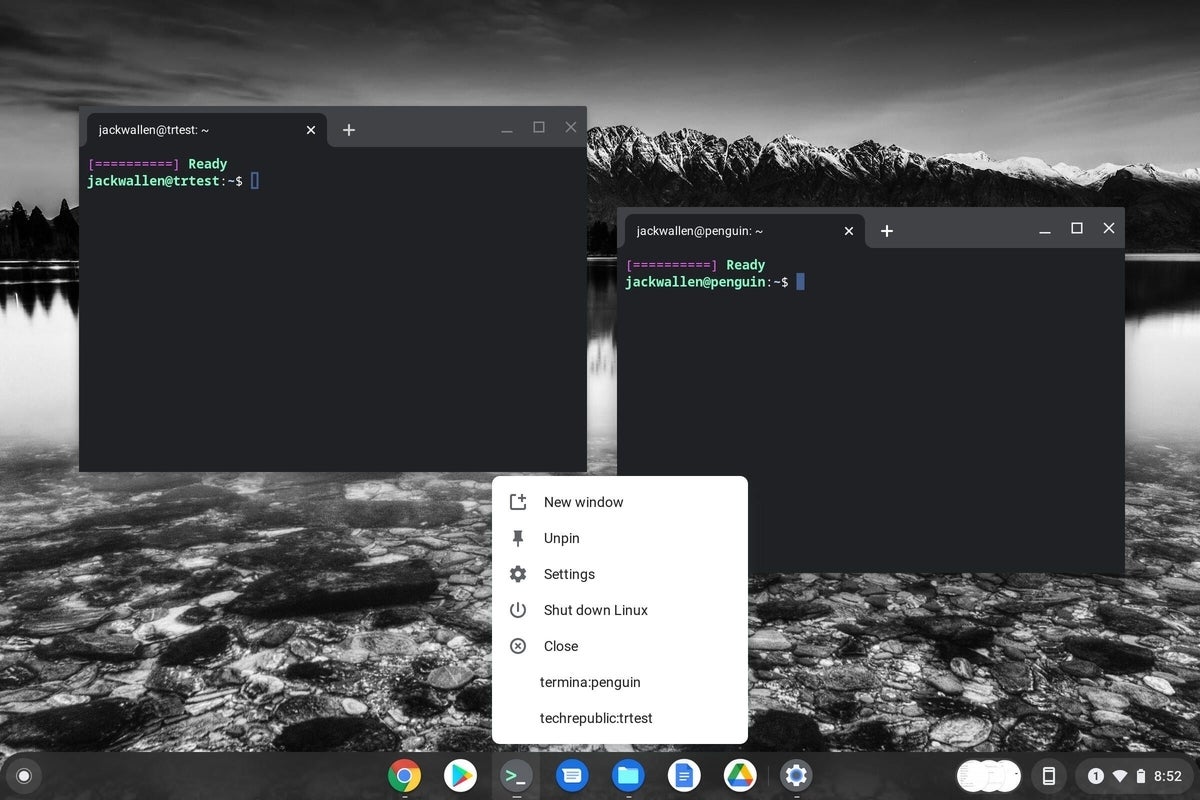
Make sure to pin the terminal window to your shelf. Once you’ve done that you can access any running Linux container via a two-finger tap of the launcher (Figure F).
Figure F
And that’s all there is to running multiple Linux containers on Chrome OS. Give this a try and see if this new feature helps you create multiple build environments on your Chromebook.
Subscribe to TechRepublic’s How To Make Tech Work on YouTube for all the latest tech advice for business pros from Jack Wallen.

Image: CC Photo Labs/Shutterstock
